One of the first details I’m excited to share is the inspiration and construction of our horizontal trim boards. These long boards hide the transition from bamboo panel wainscoting on the lower wall to bac bac on the upper wall. And they serve as baseboards around the floor and molding around the ceiling. Hopefully this post gives you some ideas on how you could create your own.
If you’re new to the blog, you should take a few minute to get your bearings.
Inspiration
Many of the features and details in The Eighth Wonder were inspired by Notch’s work at The Royal Hawaiian, and our trim is no exception. Here’s a sample of Notch’s trim work from a booth at the restaurant.
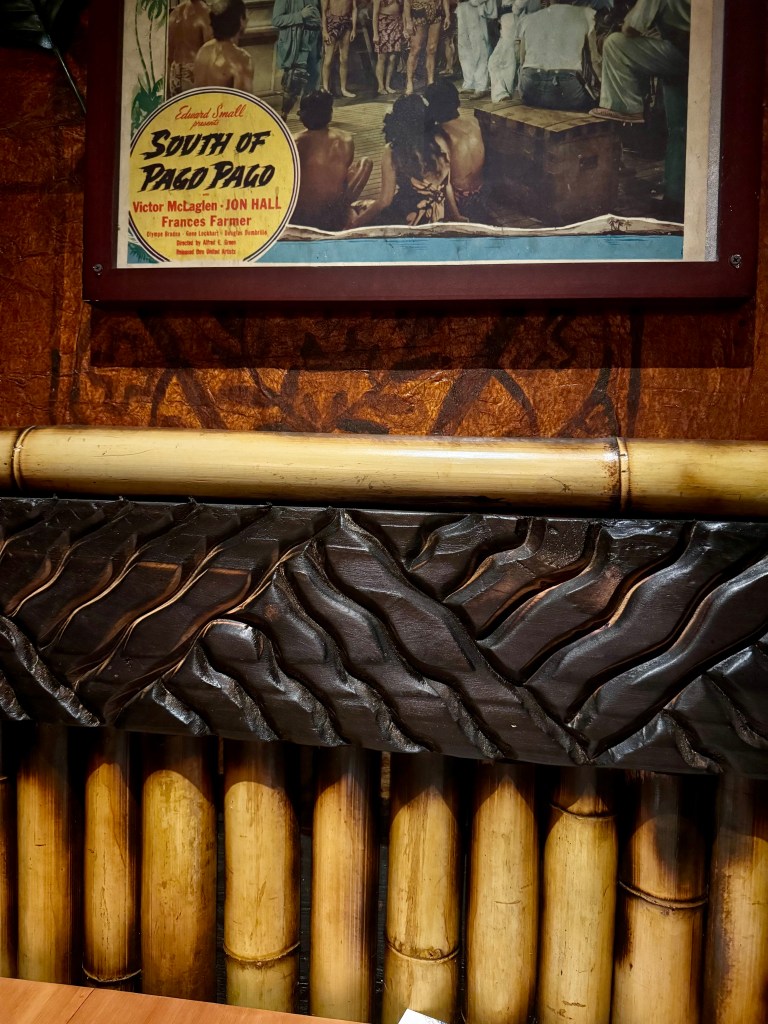
We loved the simple repeating pattern. To me, it looks like a series of volcanos. The triangular pattern combined with the hand-carved grooves and organic burnt wood makes for a striking detail with lots of visual interest.
Sourcing the wood
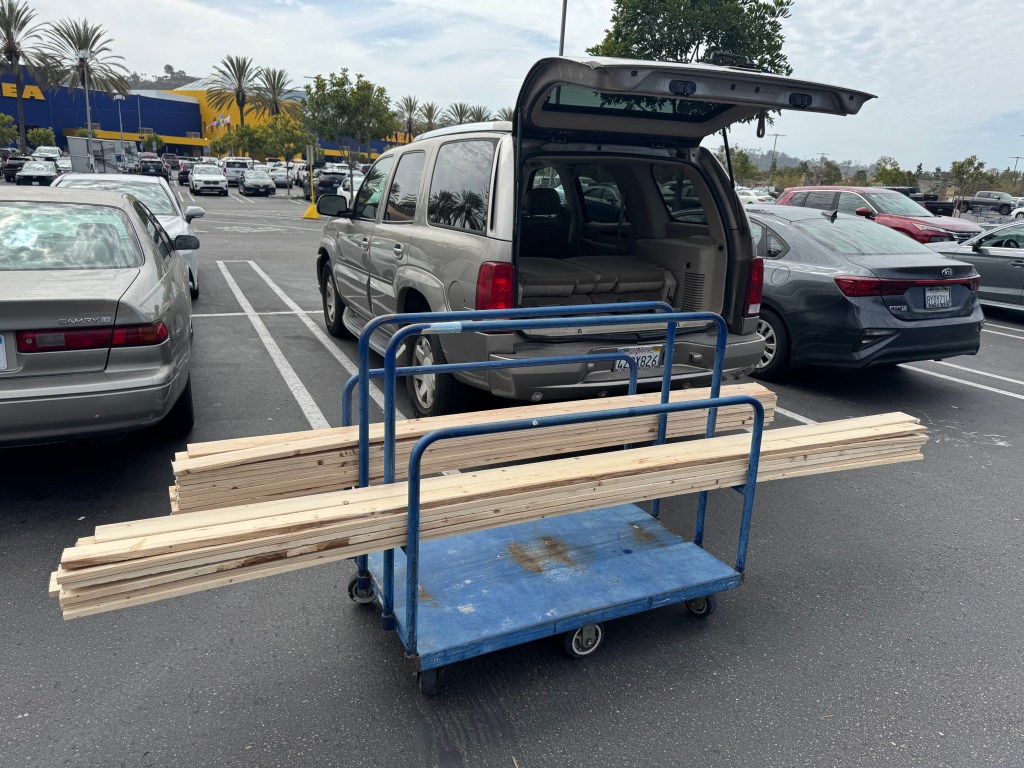
Since we were going to be burning this wood beyond recognition, I figured the cheapest common board I could find would do the job. So I headed to my nearest big-box store and picked out the straightest of the cheap 1×4 common boards. I had a mix of 8-foot and 10-foot pieces based on the measurements of the room. Orignally, we planned to use the boards both vertically and horizontally, so I ended up making more trim than I needed, but it has come in handy for other projects like the bottle risers on the backbar shevles. More on those in a future post.
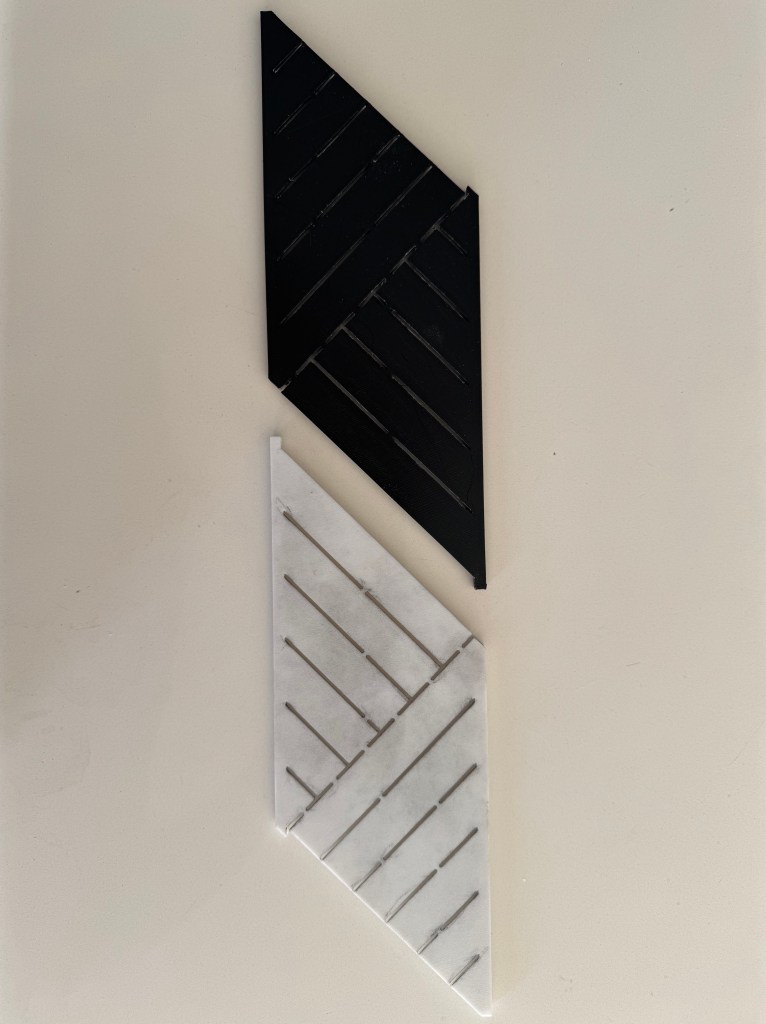
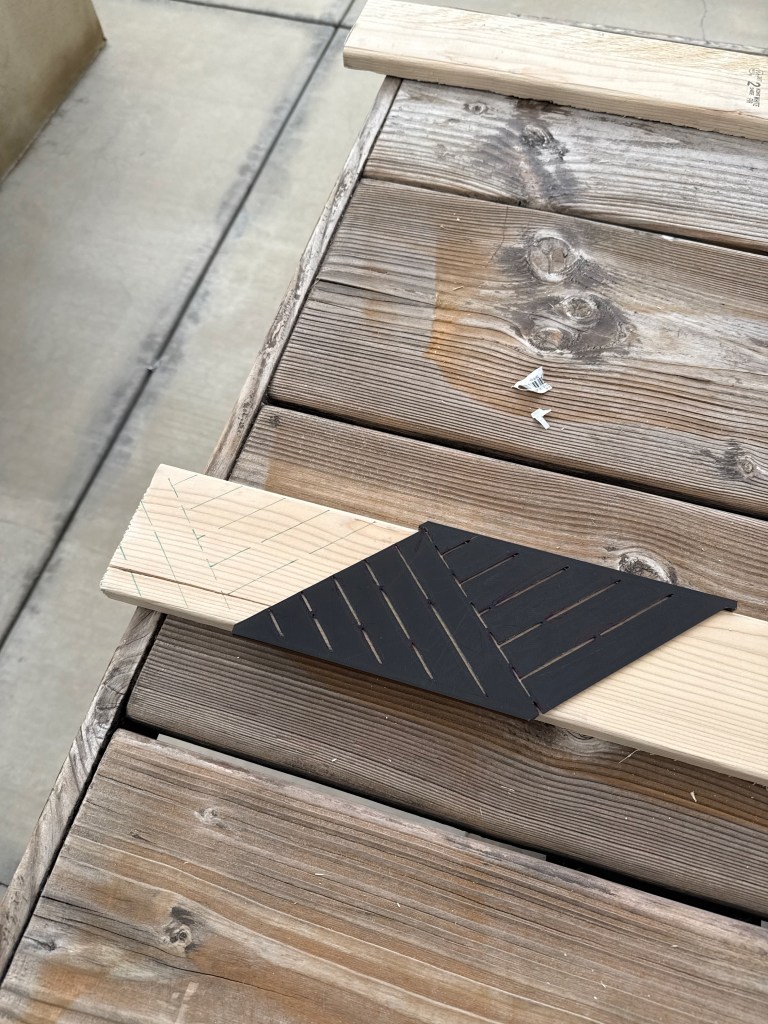
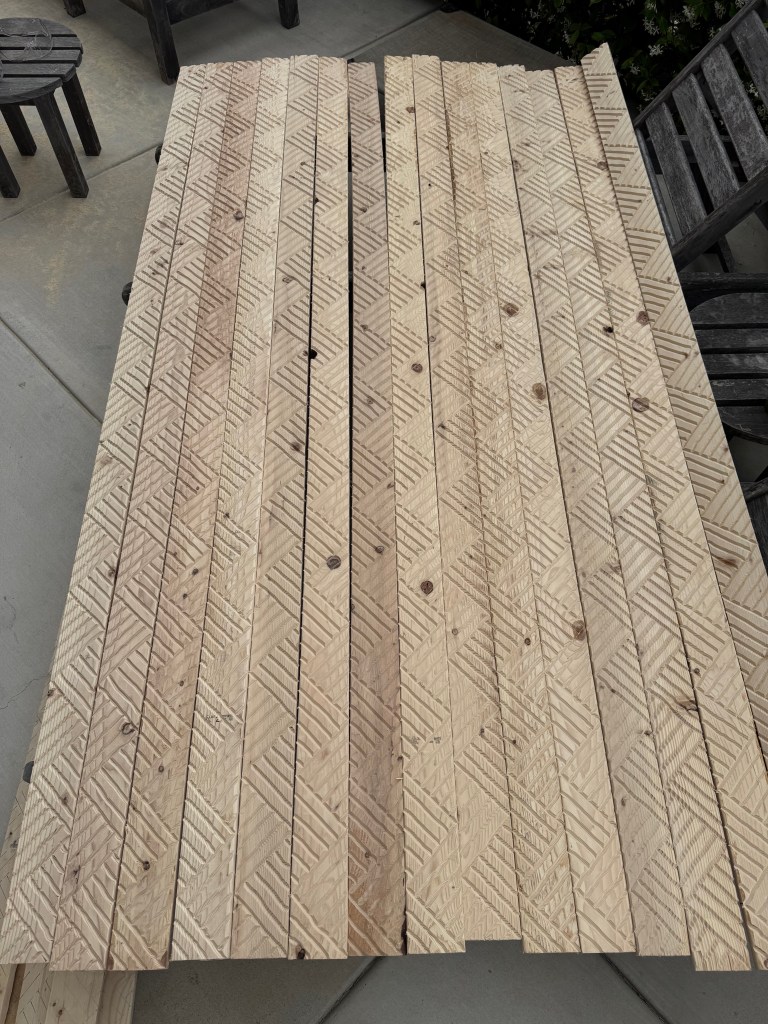
From pencil to stencil
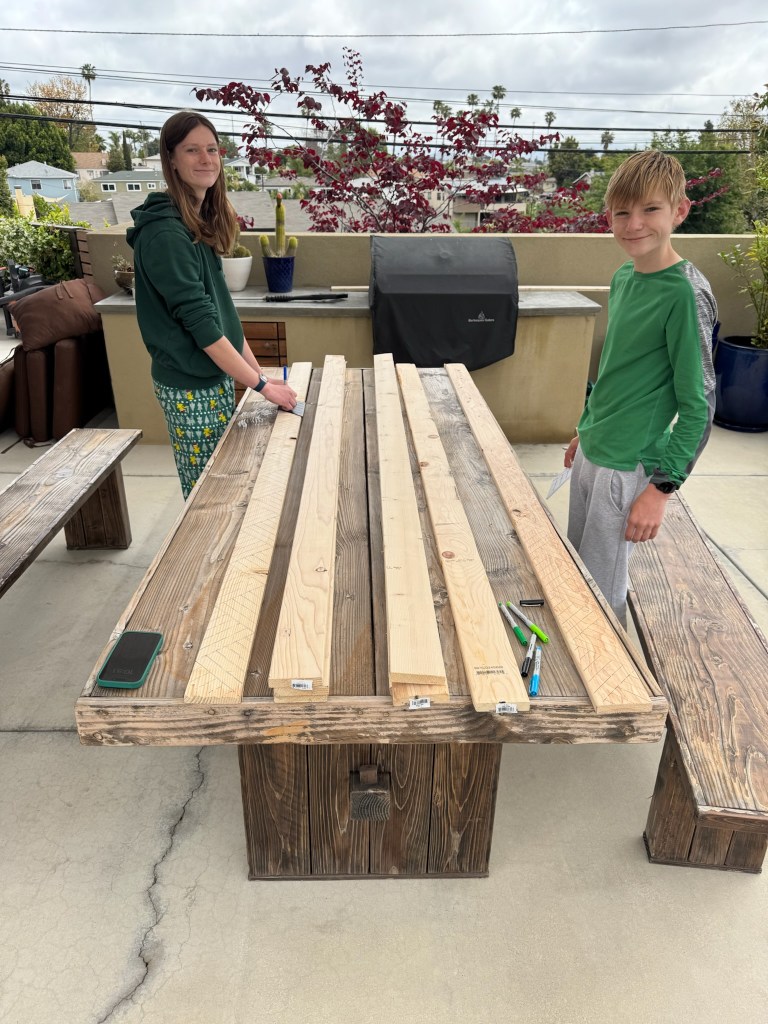
To recreate this classic tiki trim, I first drew the pattern on paper with a pencil and ruler and used that to make a simple stencil from cardboard. I soon realized the cardboard wasn’t going to survive very many boards…and we needed lots of boards. So I turned to my friend Scott @tikitekki and asked him to help me 3D print a durable stencil. We eventually ended up with two the stencils shown below. Scott used his 3D modeling skills to add some nice details like small ridges sized just right to self-align on the boards and a came up wtih a design which lets you trace the “up” pattern and “down” pattern and then just slide the stencil along the board and start the next. The kids made quick work drawing lines on all the boards.
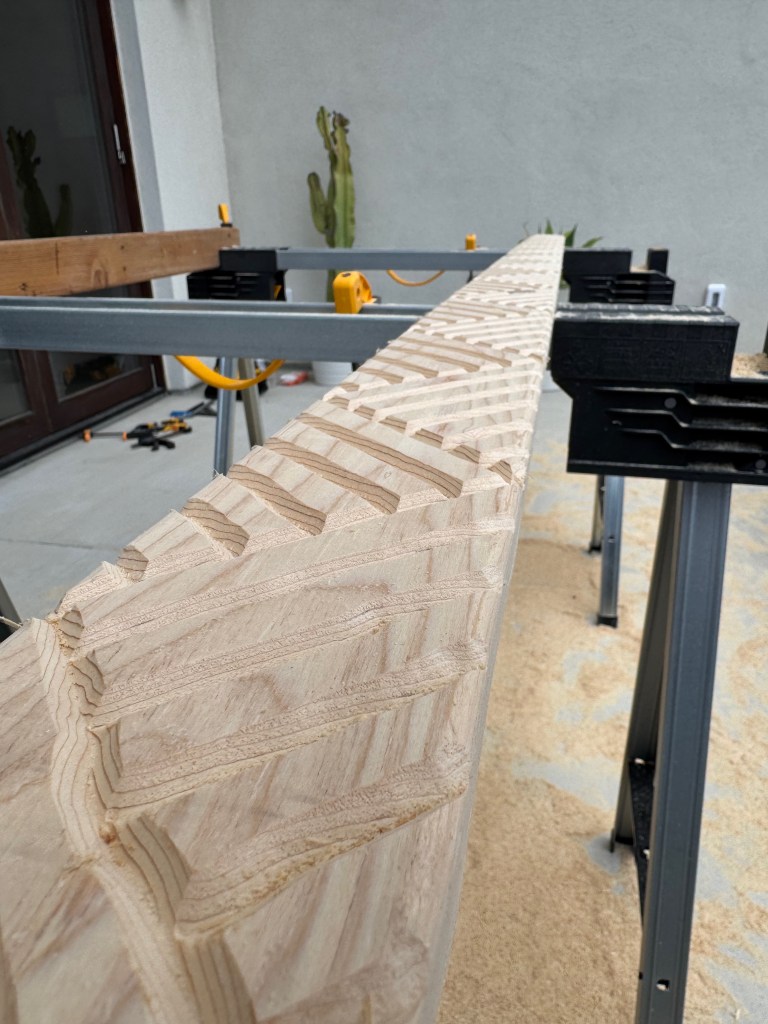
Get into the groove
Once the lines were drawn in place, it was time to get cutting. This was my first real experience with a router and while it took a little getting used to, it quickly became repeatable and meditative. I used a V-groove router bit with a 1/4″ shank and a 3/8″ diameter (like this one). This time-lapse shows me routing a 10-foot board. I ended up carving about 240 feet.
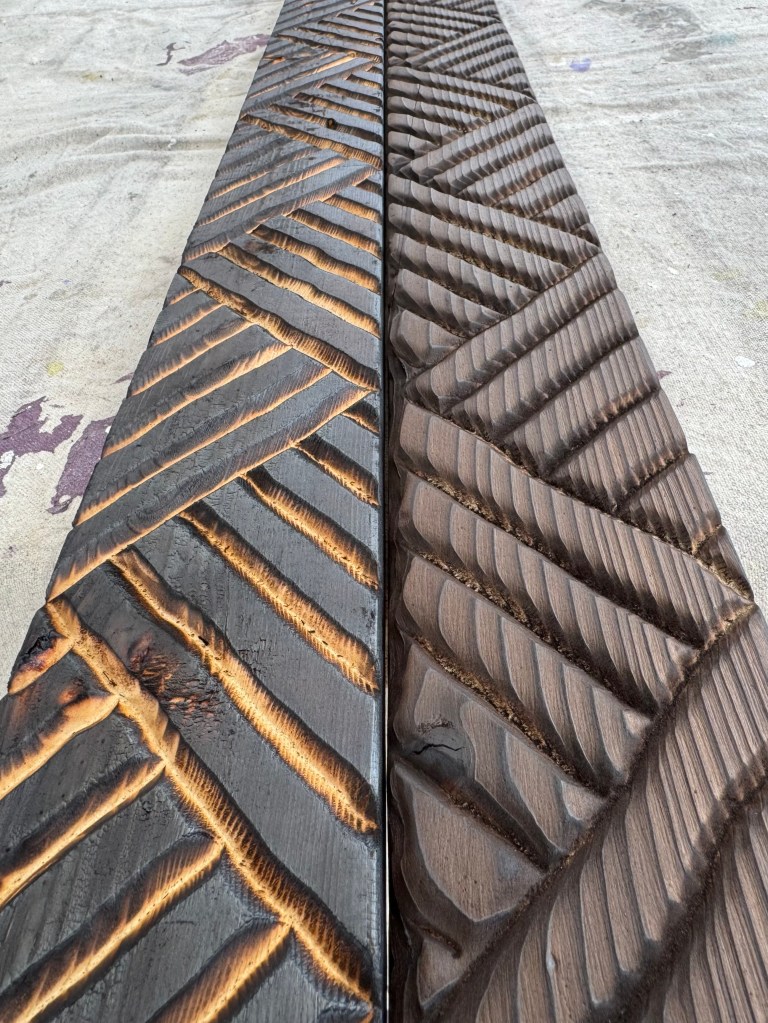
Feel the burn
Certainly the most dramatic step is burning the carved boards with a propane torch. I learned here to go slow and don’t be afraid if the wood catches fire. It’s really hard to over-burn. You can see in the video that I had a fire extinguisher nearby just in case.
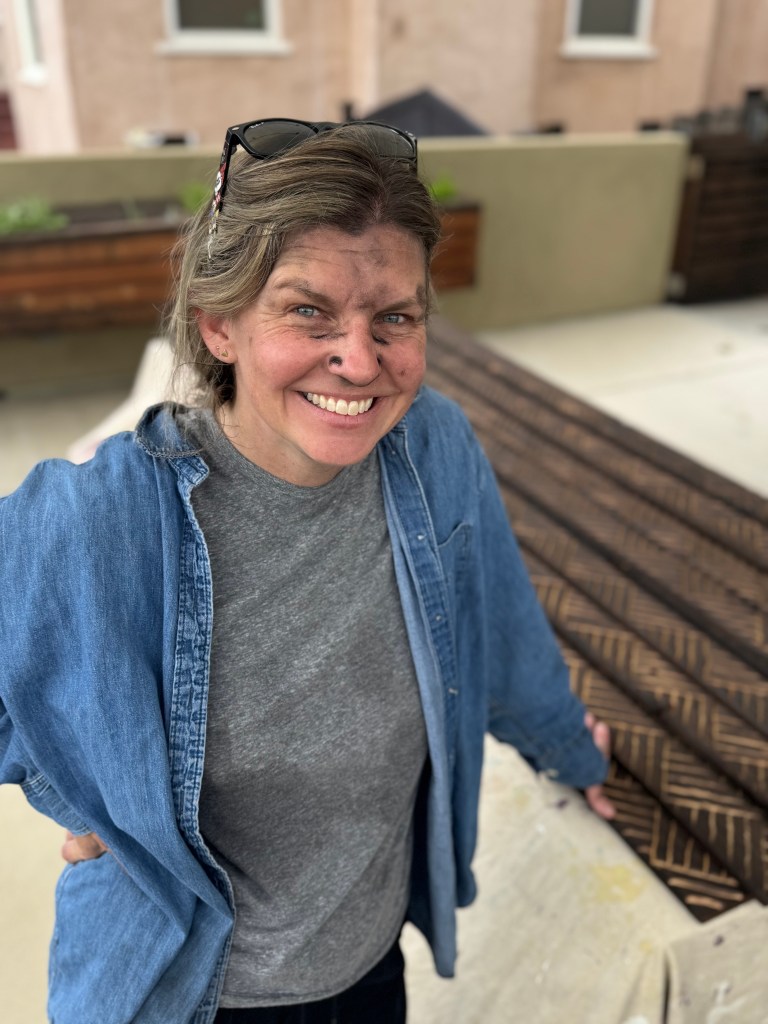
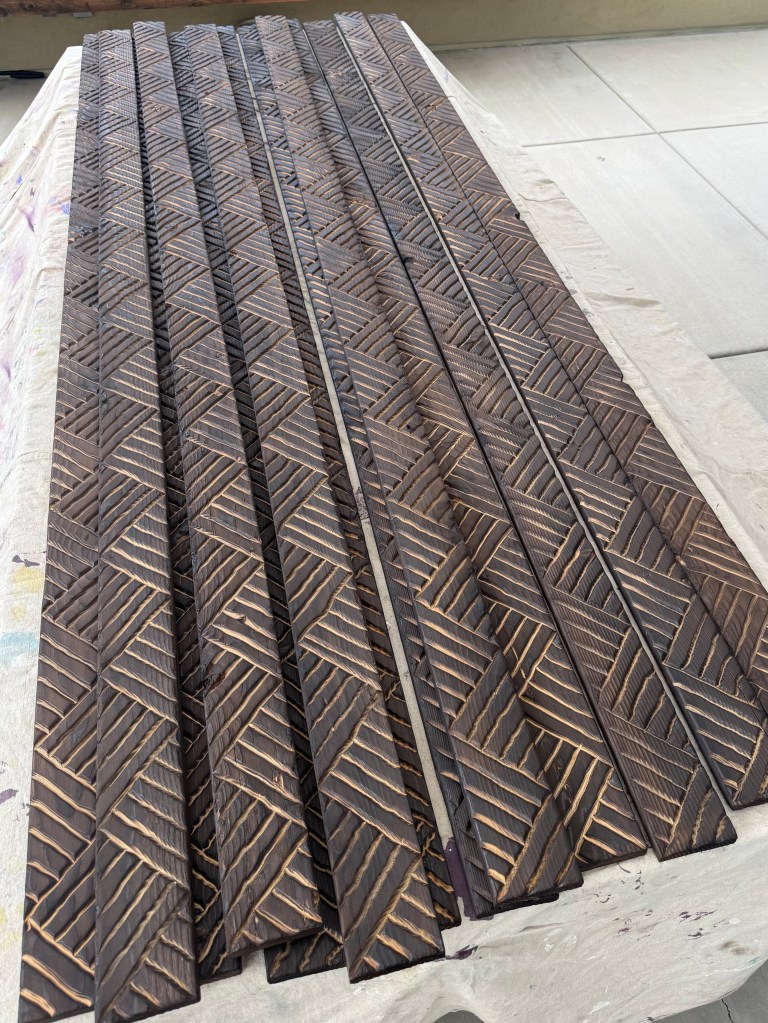
Brush, brush, brush
After the boards are nicely charred, we used a stiff brush to scrape away the burnt wood. Then a leaf-blower and a damp rag helped to clear the final dust and soot. Merrilee really got into the work!
Installing
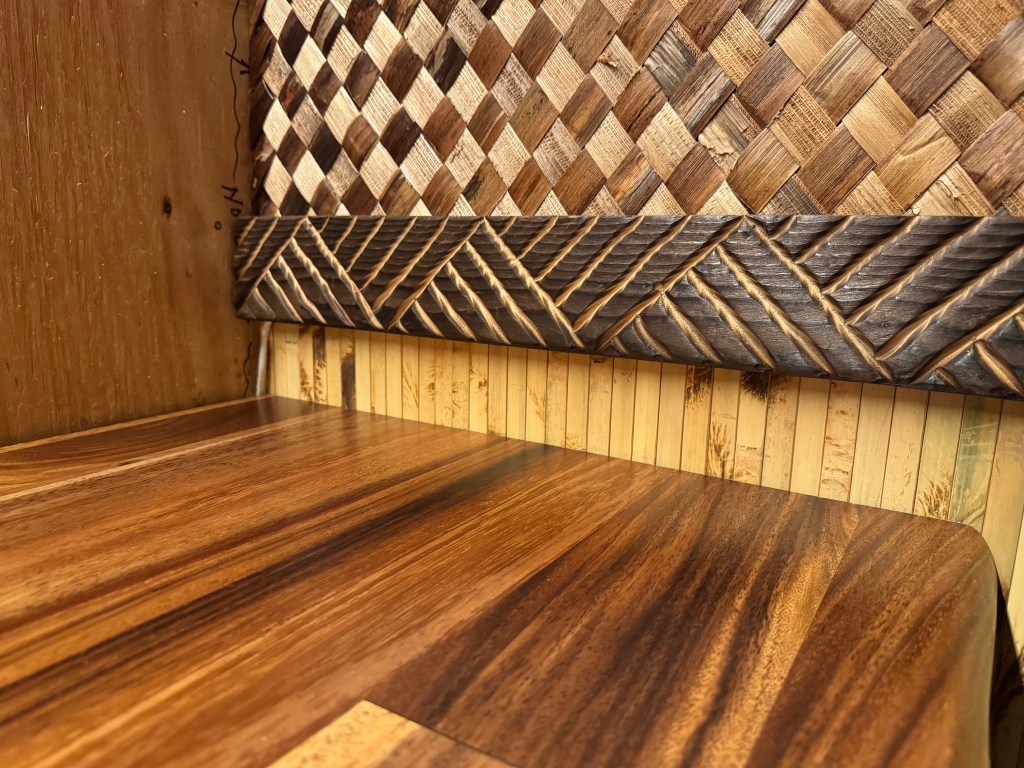
Finally, here’s an early shot of the trim installed over the backbar countertop. I think it does a great job hiding the seam between the bamboo panels below and the bac bac above. We used a brad nailer to install to the wall (all our walls are plywood, not dry wall, which makes this easy). To make it simple to keep each board level with the floor, I stood two 2×4’s cut to the same length up against the wall and rested the trim on top. Then it was easy to just hold the board in place against the wall and use the pneumatic nailer to tack it down.